Tuesday, January 14, 2014

On The Wing

    I began cutting the dove's wing today. I am using Spectrum Glass Firelight for the dove. I'ts incredible up in the light. I also got to cut the first of the background glass. The back of the glass on the flat just doesn't do it justice. It has lovely amber swirls. It was a short work day today. I'll be back at it tomorrow.

Monday, January 13, 2014

Saved By The Belle

     I thought I was going to be a week without a cutter, when Debbie, my favorite glass lady, said she had an extra and would meet me halfway between her place and mine. Get in the truck! First thing this morning, we drove over and picked it up. As soon as I got home with it I was setting up shop. Thank goodness for helpful people!
    I decided to change out the grinder bit on my glass grinder before I got too far into the day. The old bit was locked down tight and wouldn't budge. Really? All I want to do is CUT SOME GLASS! Ed finally was able to knock it free. We got the new bit on and now I can cut glass. Yay!
 By the end of the day I had the border on the first panel finished. Geometric shapes are not my strong point, but everything looks like it's hitting square.
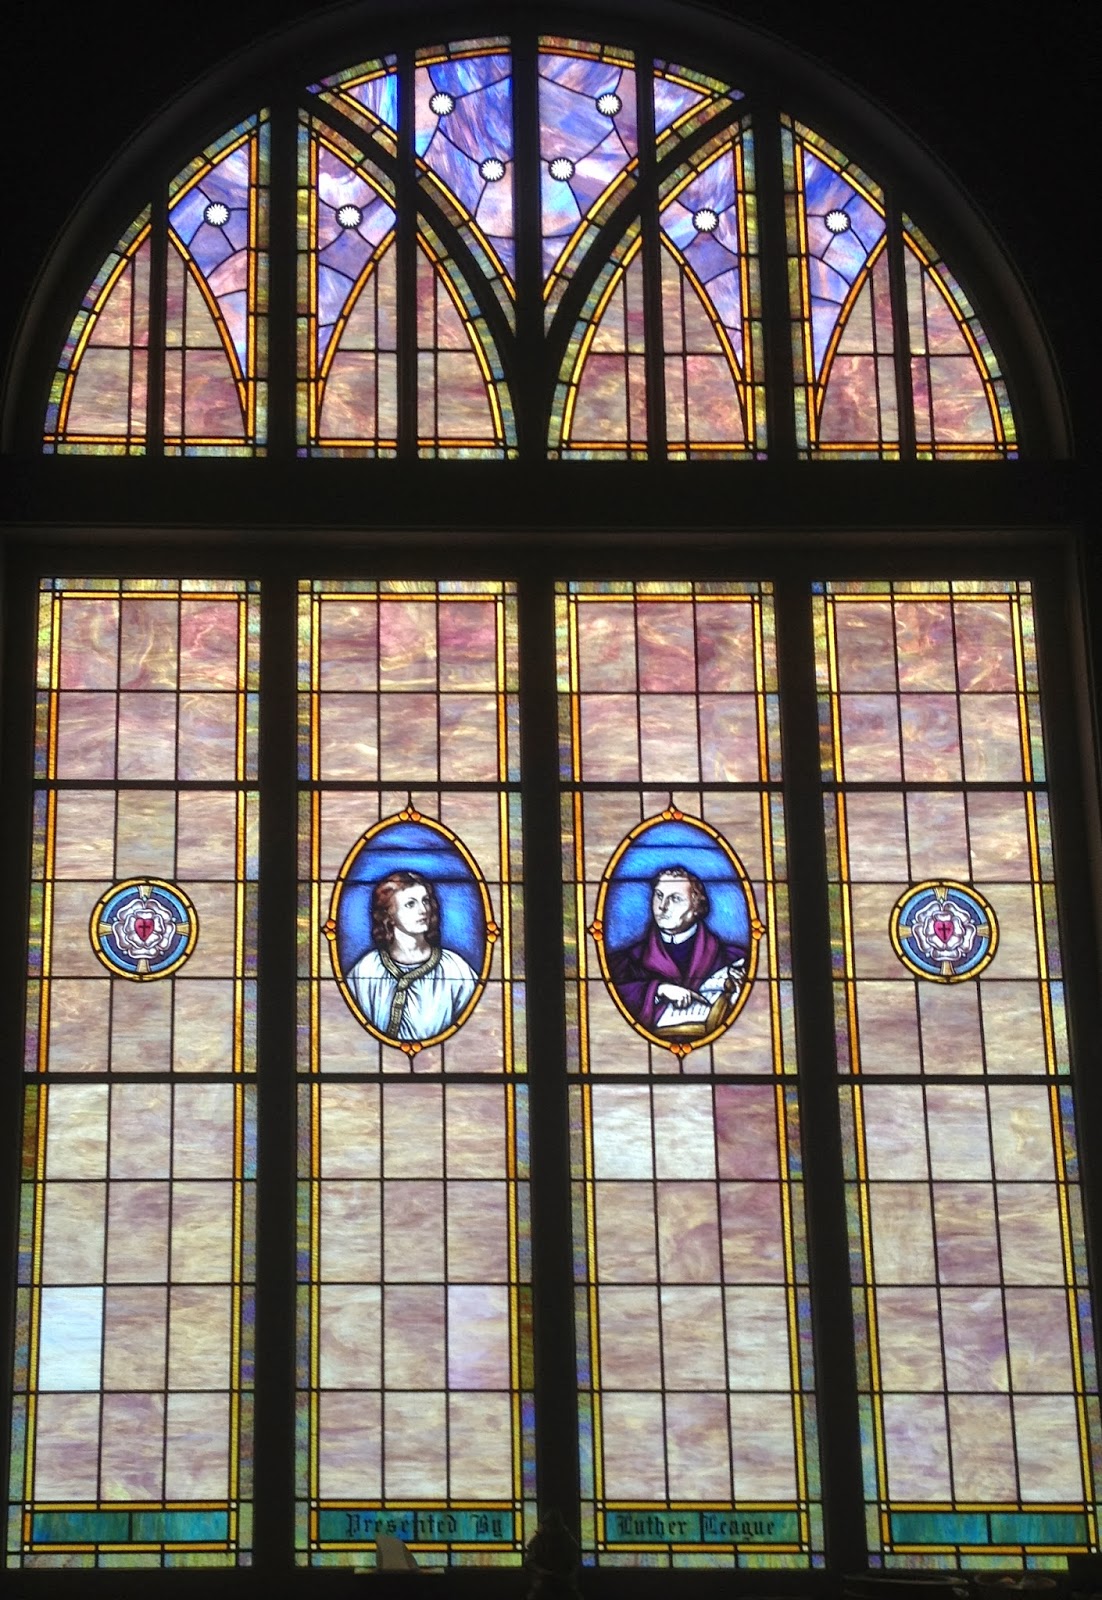
     The border design is an echo of the existing window in the front of the church. Finding glass that was an exact match would have been an impossible task, so I went for similar colors, or complementary colors.
    The existing windows have painted roundels in the "sky" arches. I found some really pretty clear roundels with a molded swirl and will be using those.
   One of the fun parts of glass is that the "right" side of the glass is down, and shows colors different than the "wrong" side of the glass which is visible here. There is always that moment of anticipation when the panel is finally soldered, is held up to the light and comes alive for the first time. Until then, I'll just have to look at the back.
    All of the border for this first panel is cut. Tomorrow I'll start on the white glass for the dove.
 

Sunday, January 12, 2014

Two Steps Forward, One Step Back

    After church today, I hauled in the first piece of glass, it's a blue/green mix for the first border. I cut it into two inch strips,  and laid them out. Then I went to the next color, which is for a narrow yellow border. I kept getting a bad break, until I realized it wasn't the glass, it was my cutter. It's the same blade in the cutter that I have used for eight years, and it's finally done.
    I was pretty sure I had purchased a replacement some time ago, so I started going through the drawers. I'm pretty sure every house has one of those junk drawers where every little knickknack and extra thumbtack is placed.  I happen to have several of those drawers. The replacement cutter isn't in any of them...or the cabinet...or the storage bins.
    I'm frustrated. I am all ready to go, just want to cut glass, and I'm stuck without a cutter until I can get to my friendly glass shop.  That may be several days.

Saturday, January 11, 2014

Glass Scissors Paper

     Remember all that time I spent taping together the pattern?  Today I cut it all apart. Each window will be made in three panels, with a 2 1/4" mullion running vertically through the picture. In order to keep the proportions correct, I have to create the full sized cartoon, then cut it into three parts, keeping in mind the elements of the design and the missing space for the mullions.
    Edd Eckland made a template for the windows, and it is perfect. Everything is straight, square and true, which makes my job a lot easier.
    Today I completed the pattern, measured and cut it apart. Then I took the section for the first panel and made a sandwich of contact paper, carbon paper (remember carbon paper?) and the pattern. I traced the pattern so it would show on the contact paper. The contact paper is then used on the glass so I can cut the pieces out. I took it all apart again.
    Finally I set the whole cartoon on a piece of sheet rock, block it out to size and measure everything once more. The phrase "measure twice, cut once" takes on a whole new meaning with glass. Praise be, it's perfect. Five hours of layout, and I haven't even cut any glass yet.

Friday, January 10, 2014

In The Beginning

     Yesterday we drove up to Northwest Art Glass in Redmond to buy supplies. For the record, if someone asks me if I would rather go to Disney World or back to the glass warehouse, glass wins hands down!  Isle after isle, rack after rack, with the most gorgeous glass I have ever seen. I had a list of what I needed and Matt, the glass king, made finding everything so easy. In an hour I had piled up 32 sheets of glass, 25 lbs of solder, copper foil, zinc came and a variety of other supplies.
     It's a 3 1/2 hour trip each way.  We were back on the freeway headed home by 1:00 p.m.  And except for that little part where we headed northbound I5 instead of southbound (the sign for Vancouver B.C. was a clue) it was an easy trip.
     I owe a very special thank you to Debbie Patana of Inspirations Glass in Chinook. She made it possible for me to purchase glass at Northwest Art Glass and I am so very grateful. She has been very generous with her time and knowledge as well.
     We were expecting heavy rain this afternoon, so first thing this morning, we unloaded the truck. Every time Ed lifted a piece down to me, I was struck by the beauty of the colors in each one. We stacked them in the garage, as they were too big to go in my glass rack.
     This afternoon I started piecing together the pattern for the Holy Spirit As A Dove window. I usually make my own patterns, but I just couldn't get what I wanted down on paper. Finally I saw a pattern for sale through Gospel Glass that had all the elements I was looking for. Why reinvent the wheel?  I purchased the pattern.
     I use a program called Rapid Resizer to enlarge my patterns. It prints out the pattern to the desired size in tiles, then I tape the tiles together to make the whole. Excluding the borders, the image is 67"x67". I went through four rolls of sticky tape. I print the pattern in mirror image so that when the window is finished, any textured glass will be on the viewing side. The glass is cut on the smoothest side.
     Finally I had the entire image taped together. After that I worked on plotting out the border, which will be the same for all four of the windows.

Wednesday, January 8, 2014

Step By Step

     When I tried my hand at stained glass eight years ago, I never imagined myself being able to create windows for a church.  Ed taught me that every large project is just a series of small steps.
     J.R.R. Tolkien's Bilbo says it best. "It's a dangerous business, Frodo, going out your door. You step onto the road, and if you don't keep your feet, there's no knowing where you might be swept off to."
     Tomorrow I step onto the road, up to Redmond, WA, to pick up enough glass for the first two of four church windows. I'm excited and more than a little nervous. I want to do it right, and I want to do it with a whole heart.
     Each window unit will have three tall panels. The small square panes above will stay. The completed panels will be inset in the interior over the existing obscure glass windows, and set with stops and quarter round.

Sunday, June 17, 2012

Glasgow Rose Transom

  I completed another transom for our home. I promised I wouldn't cover every window in the place with stained glass, a vow I'm having difficulty keeping. But the dining room transom really doesn't provide much of a view.
  I started innocently enough. I wanted a slogan piece for the dining room wall, in keeping with the Arts And Crafts style of the house...something simple and heartfelt. I decided to do a redwork embroidery design, using a pattern adapted from a stained glass pattern book, Sidelights, Fanlights And Transoms (Ed Sibbet Jr/Dover Press) .  When I was done, Ed made a frame and we hung it up.
   It was at that point I began plotting one more stained glass panel for the house. I mean, what's the harm in a transom panel that doesn't obstruct a view? I decided to repeat the same Glasgow Rose design in the panel. The existing transom had divided lights, so I needed to work the design around those. The problem was that the individual lights weren't equal, so each section had to be tweaked just a little bit. Finally I had it dialed in and began cutting glass.
Each of the green vertical rectangle pieces had a clear beveled piece on either side. When all the pieces were cut and on the board, I realized I didn't like those green pieces in there, so I pulled them out and replaced them with another clear beveled piece.
Maybe because the sections weren't completely equal size, but this seemed to be more pleasing to the eye.

    After foiling and soldering, I spent what seemed like hours cleaning the glass. Then Ed very kindly installed it for me. It fits the mood of the house very well. Nice clean lines, not too fussy. This window faces east and the morning sun (when we actually have sun) delivers a lovely bouquet of roses into the dining room.